- Published on
A Quick and Dirty Way to Debug Inside Android with GDB
- Authors

- Name
- Ajin Deepak
Hi,
Today, I will show you how to set up GDB + GEF inside a rooted AVD. This is a quick and dirty way to debug inside the device with GDB. If you've ever done remote debugging, you know how painful and slow it can be sometimes. Instead, I will show you how to set up GDB directly on the device, which is much faster and easier to use.
Setting up AVD
Let's start by creating a device. Go to the device manager.

You can create a device by clicking on + button.
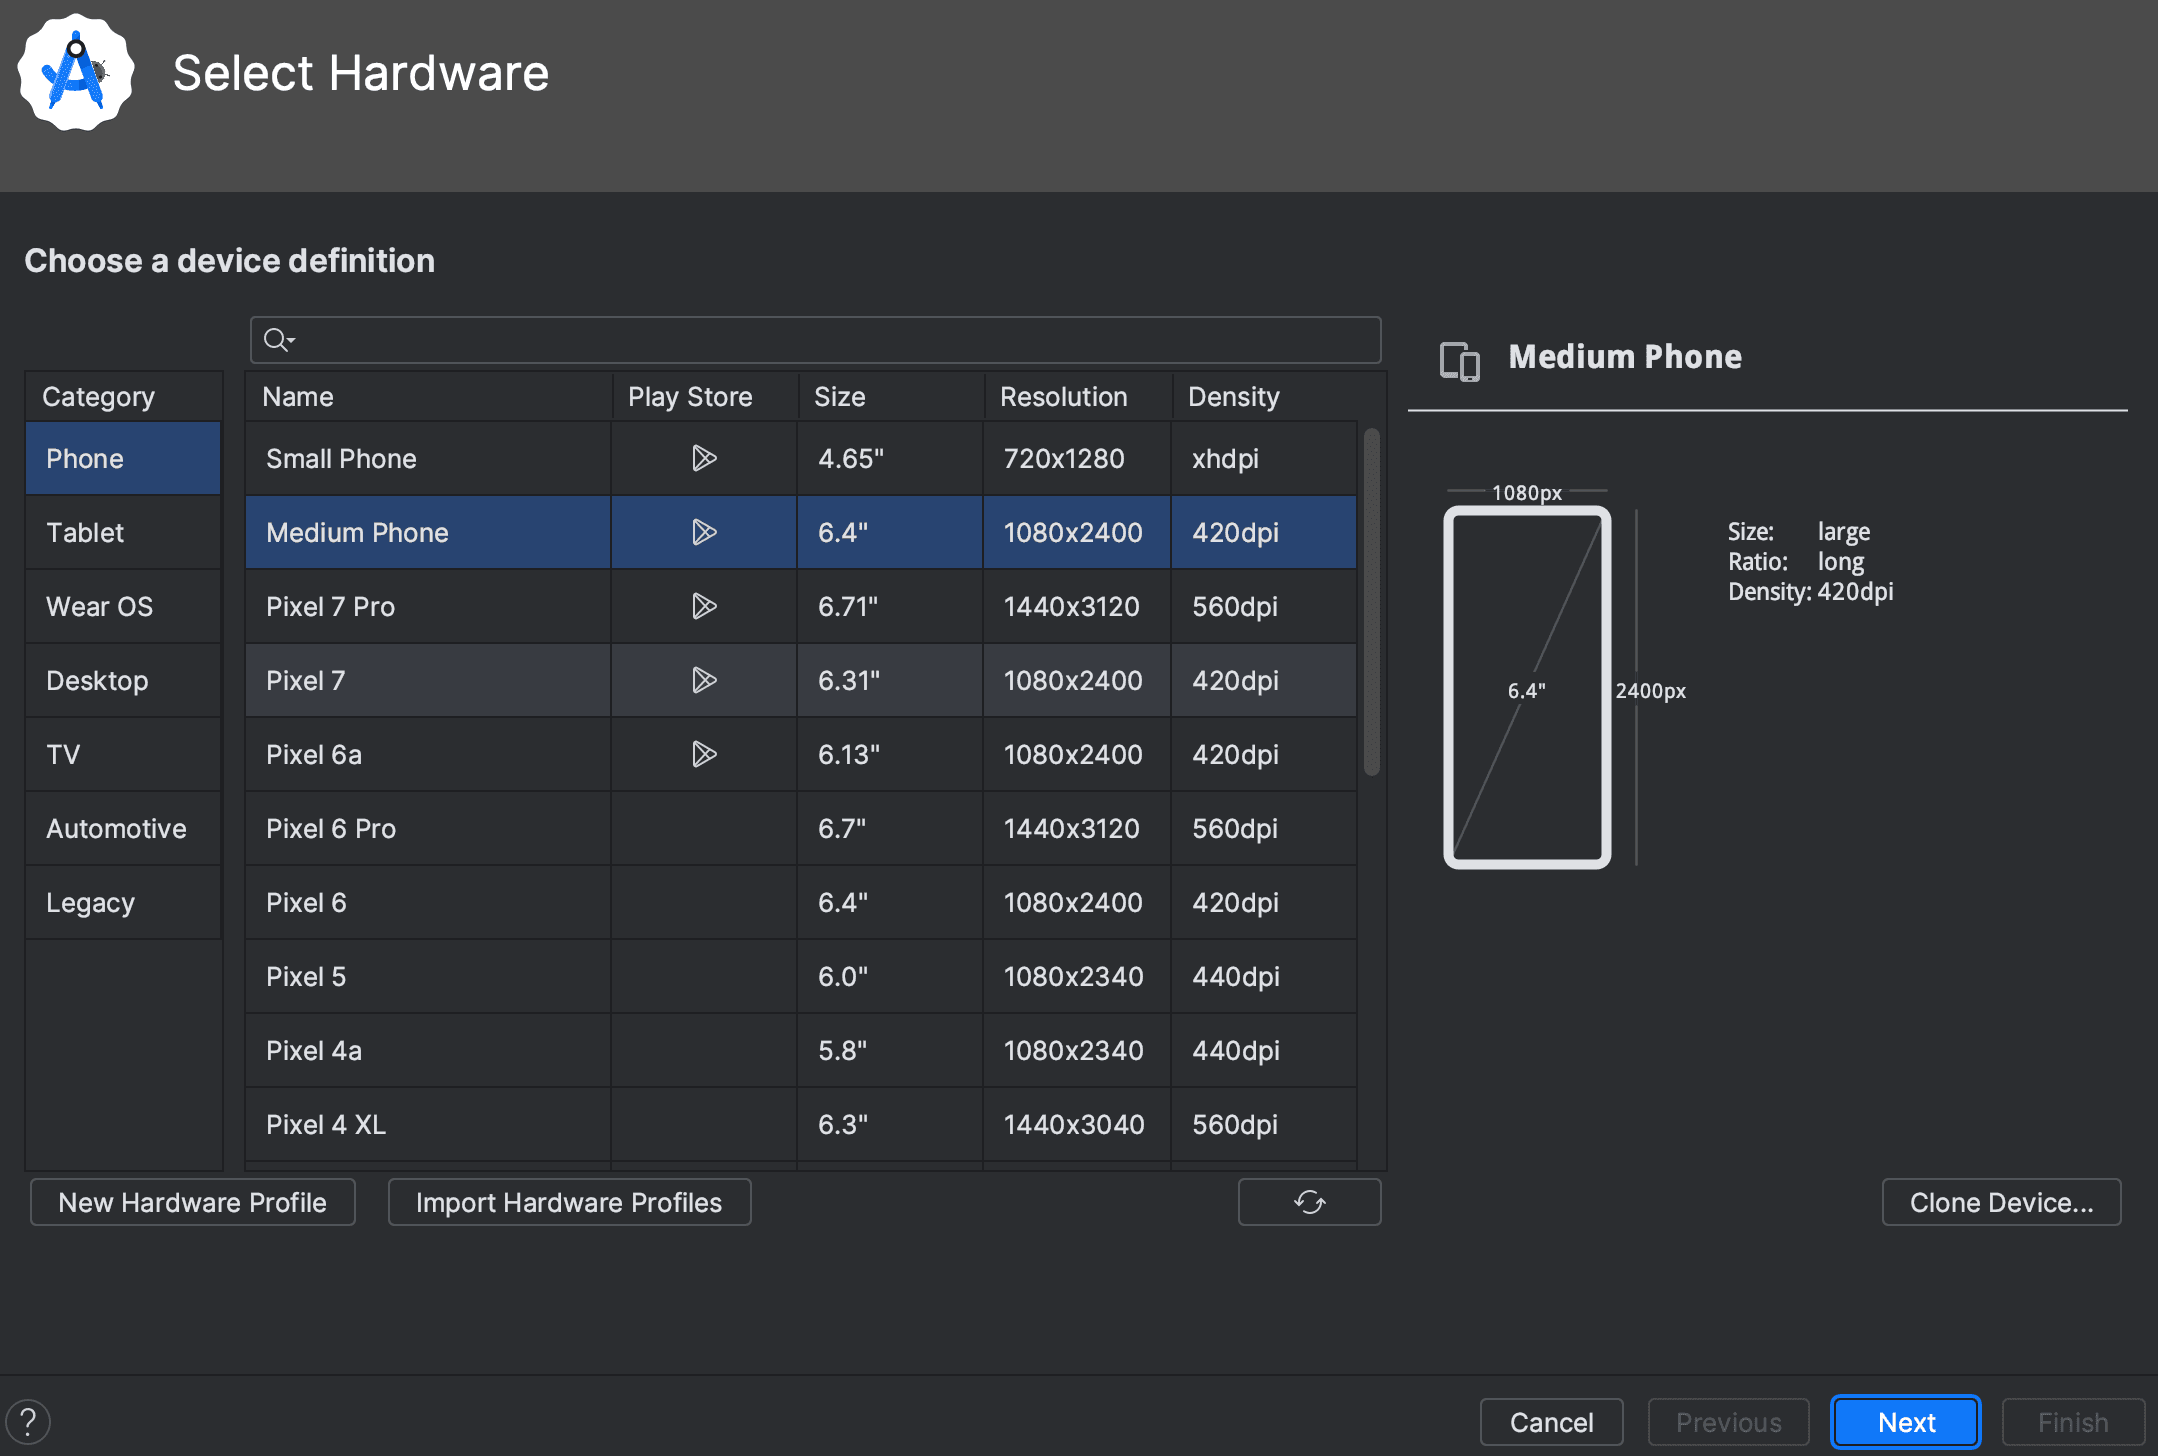
We'll begin with a fresh device. You can select any device you want, but we will proceed with the generic device.
We will use the latest version of android.
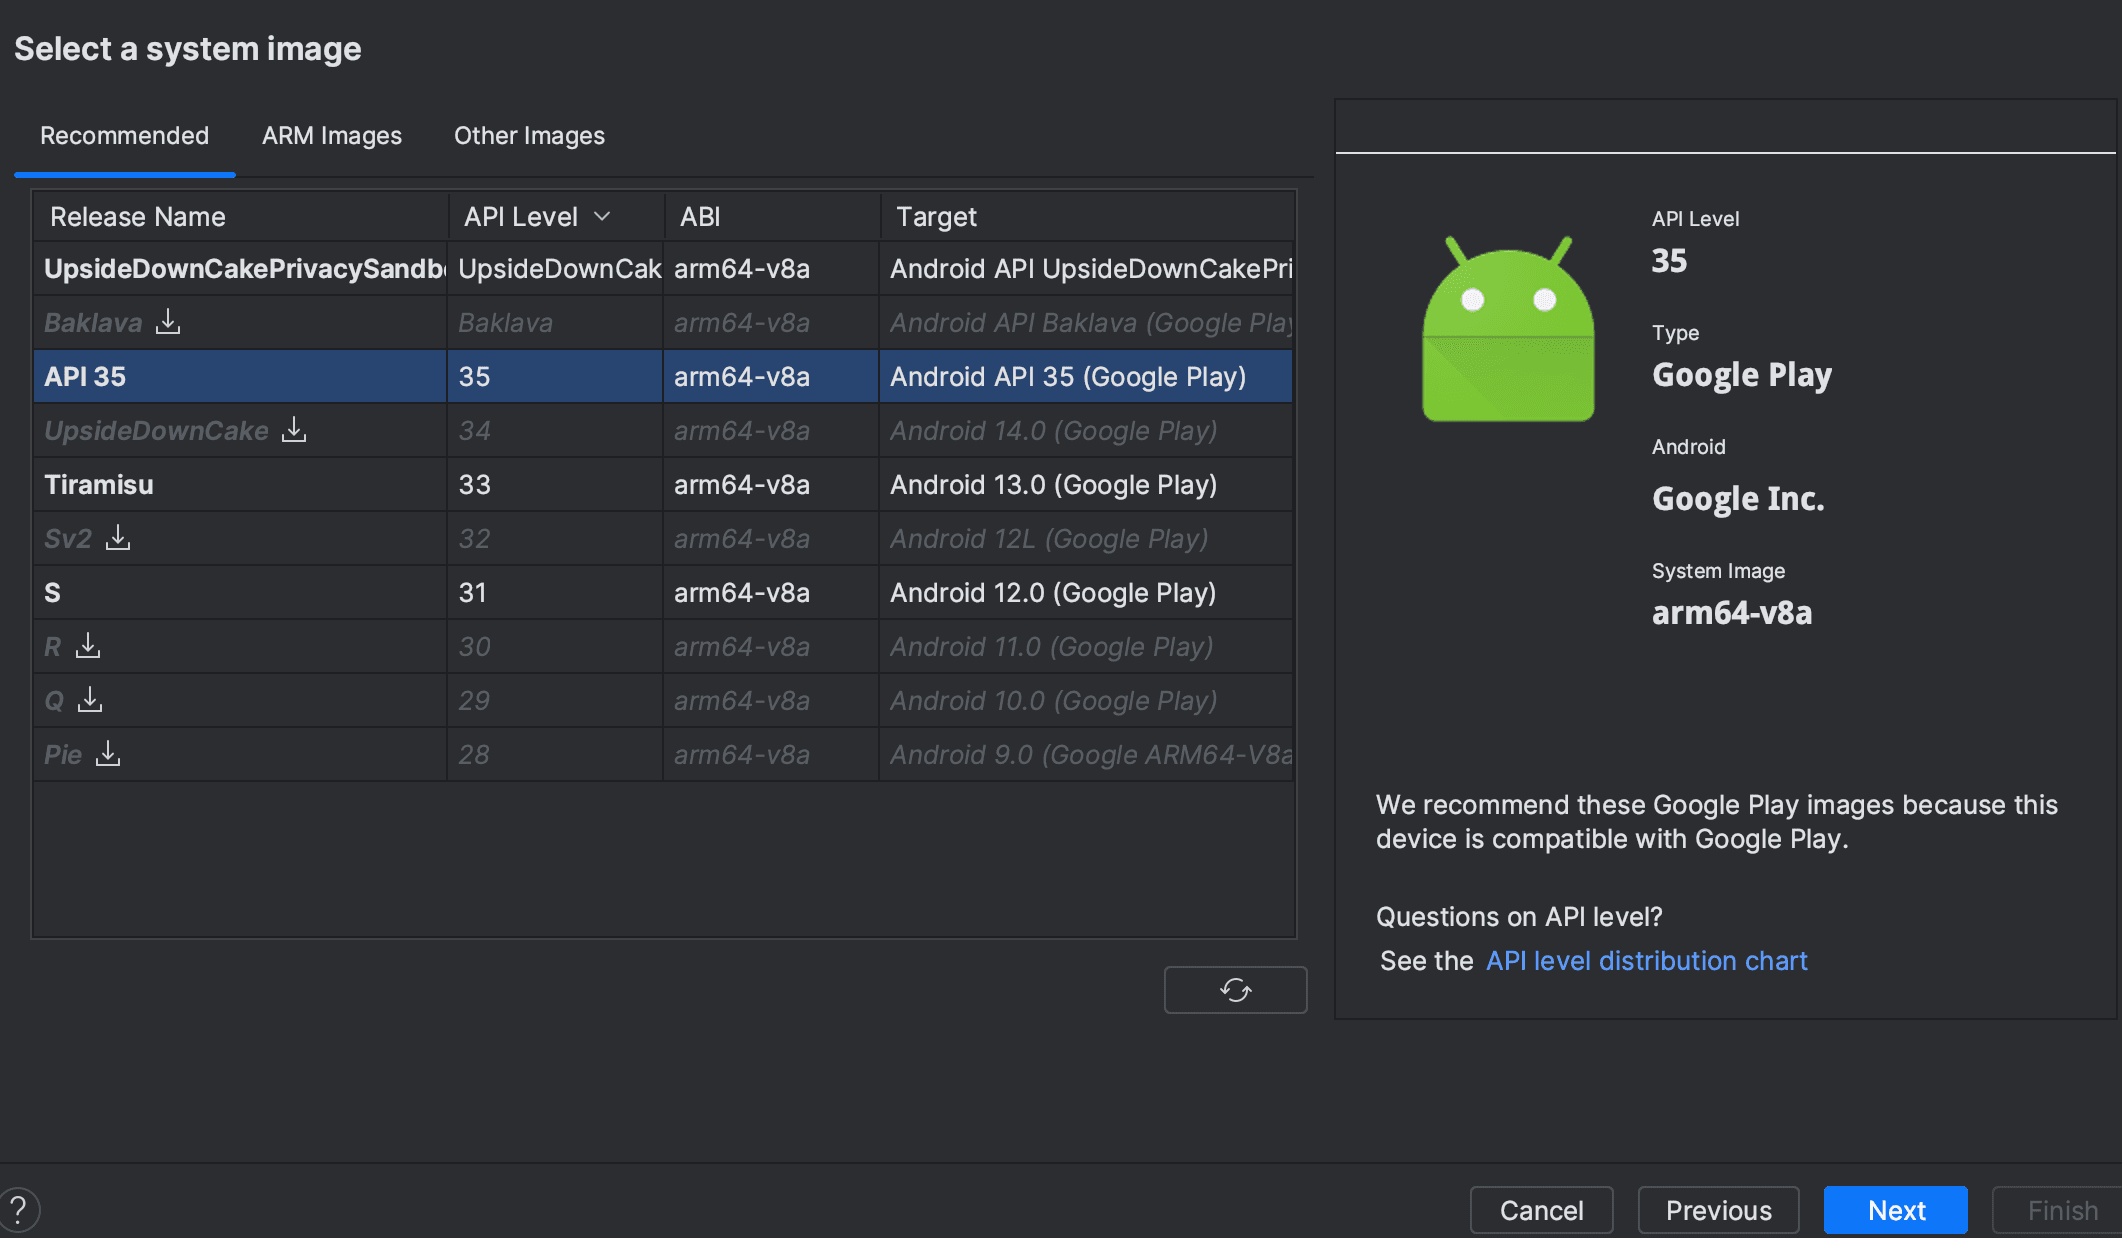
Click on next to continue.
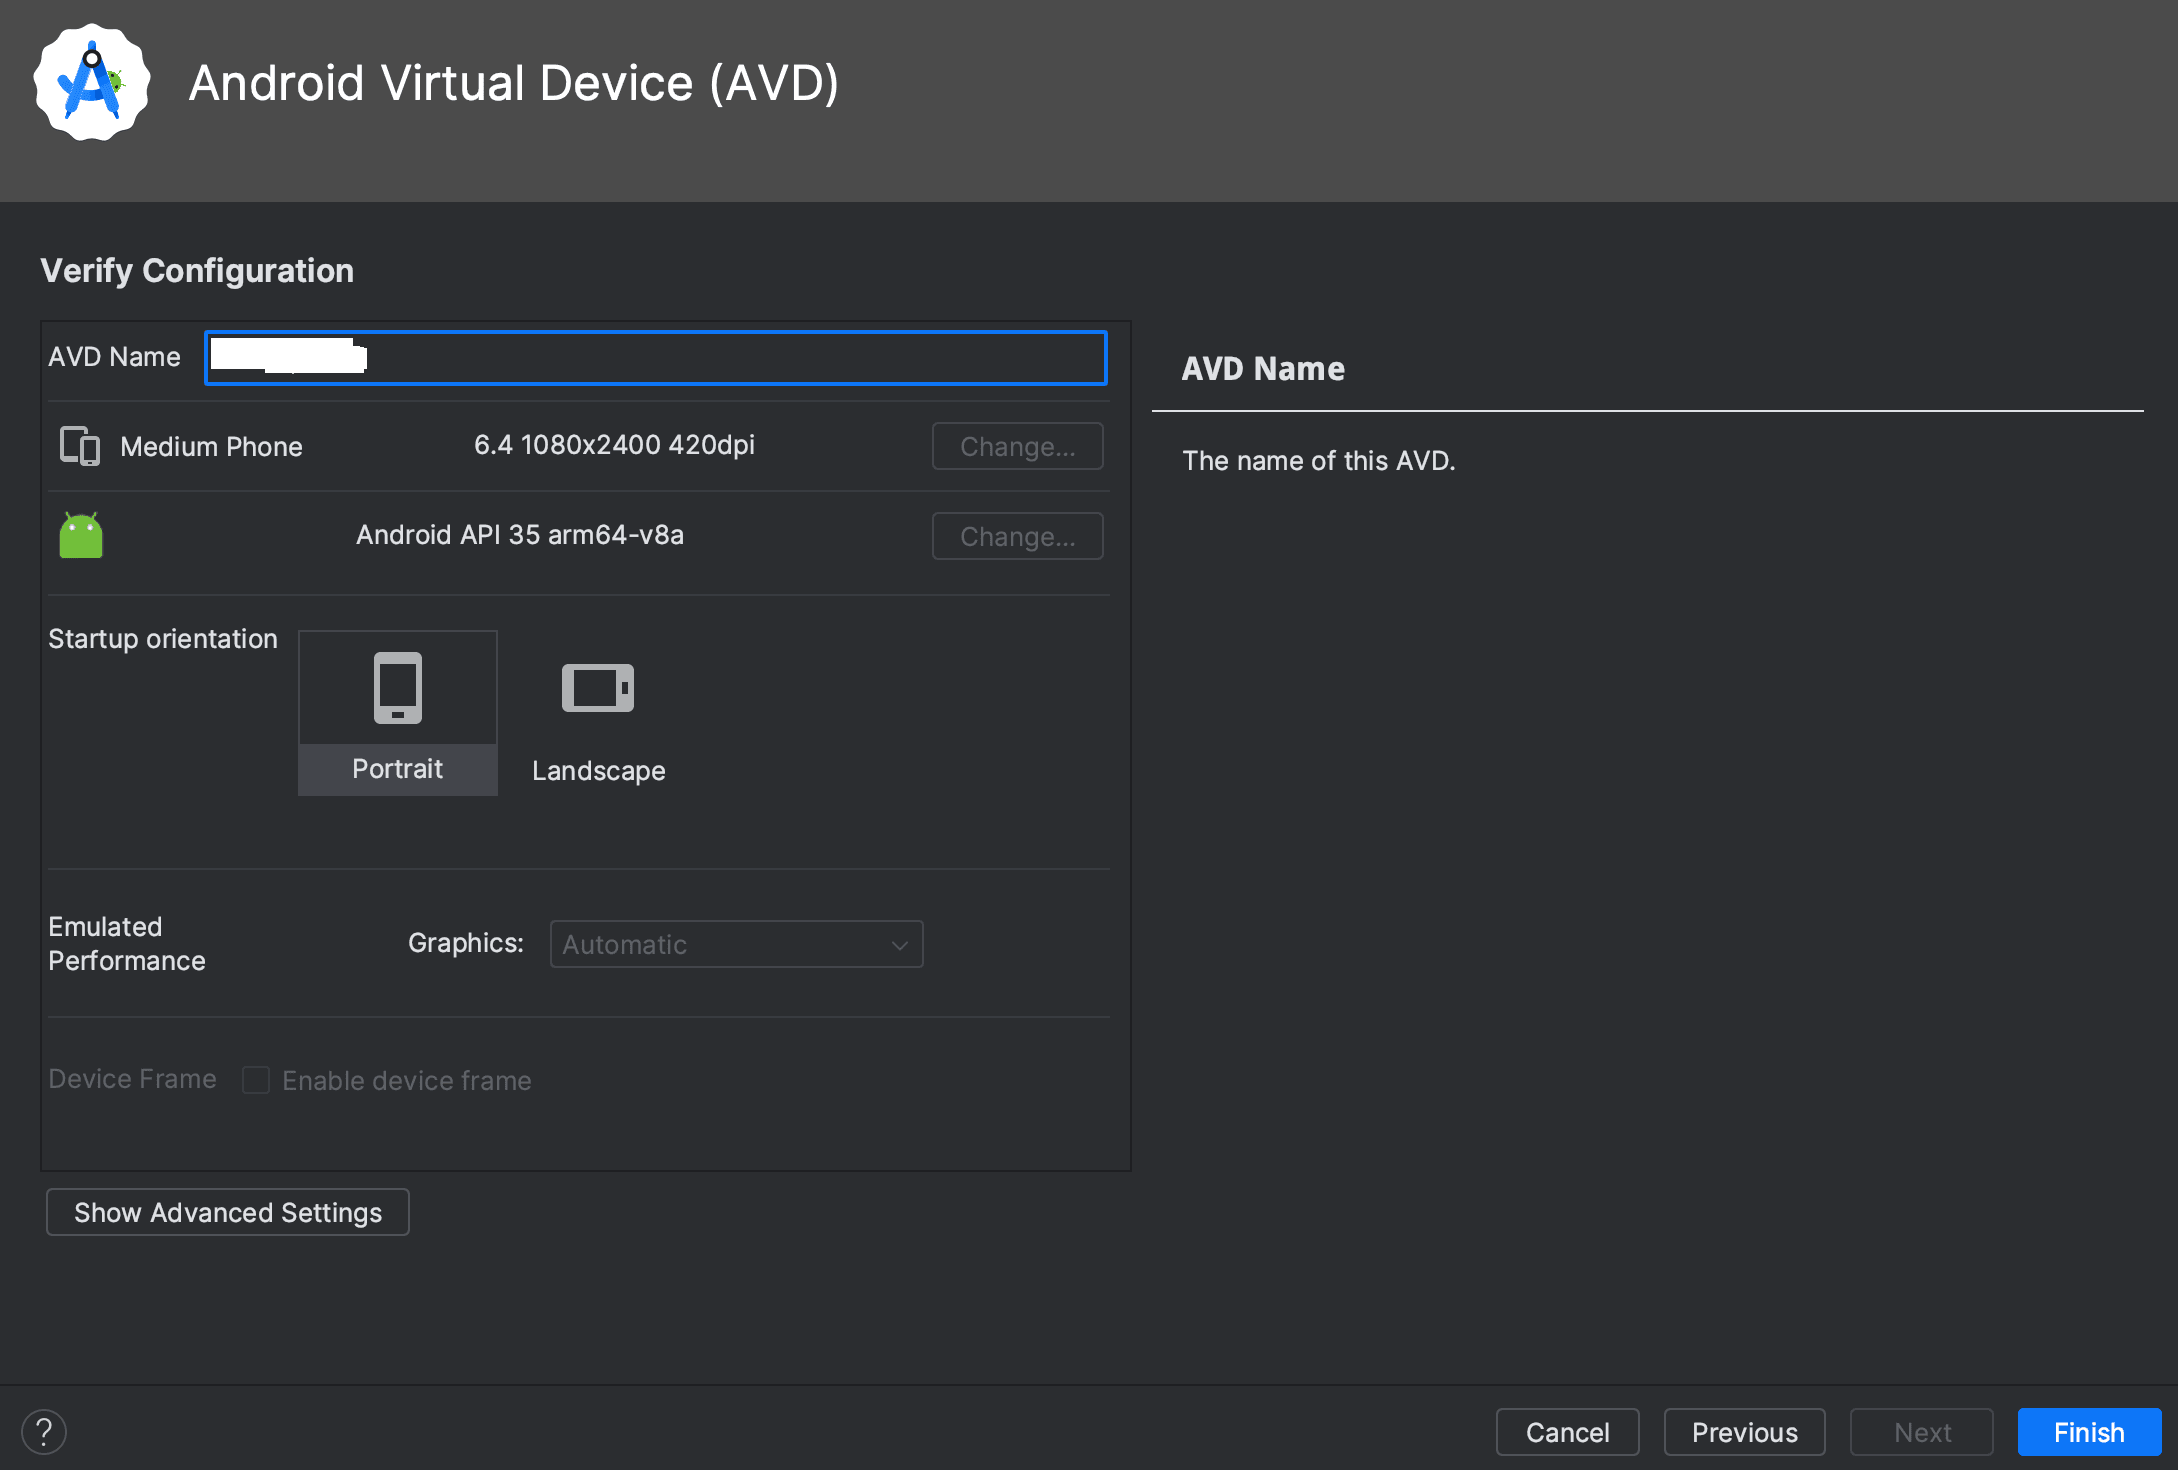
Click on the finish button to create your device.

Our device has been created successfully. Now, let's turn it on. We can use the adb shell command to access a shell inside the device.
ad2001@Mac$ adb shell
emu64a:/ $
Rooting AVD
Next, we need to root the device. For this, we will use rootAVD.
https://gitlab.com/newbit/rootAVD
You can check the repo for instructions. First Let's clone this repo.
ad2001@Mac$ git clone https://gitlab.com/newbit/rootAVD.git
Cloning into 'rootAVD'...
remote: Enumerating objects: 563, done.
remote: Counting objects: 100% (50/50), done.
remote: Compressing objects: 100% (26/26), done.
remote: Total 563 (delta 32), reused 39 (delta 24), pack-reused 513 (from 1)
Receiving objects: 100% (563/563), 72.46 MiB | 6.82 MiB/s, done.
Resolving deltas: 100% (344/344), done.
ad2001@Mac$ cd rootAVD
ad2001@Mac$ ls
Apps			CompatibilityChart.md	LICENSE			Magisk.zip		README.md		rootAVD.bat		rootAVD.sh
ad2001@Mac$
Let's run the script and list the name of the AVD.
ad2001@Mac$ ./rootAVD.sh ListAllAVDs

This will output the commands for all the AVDs. Choose your AVD. This patches the ramdisk of the selected Android Virtual Device (AVD) to enable root access.
Let's run the command.
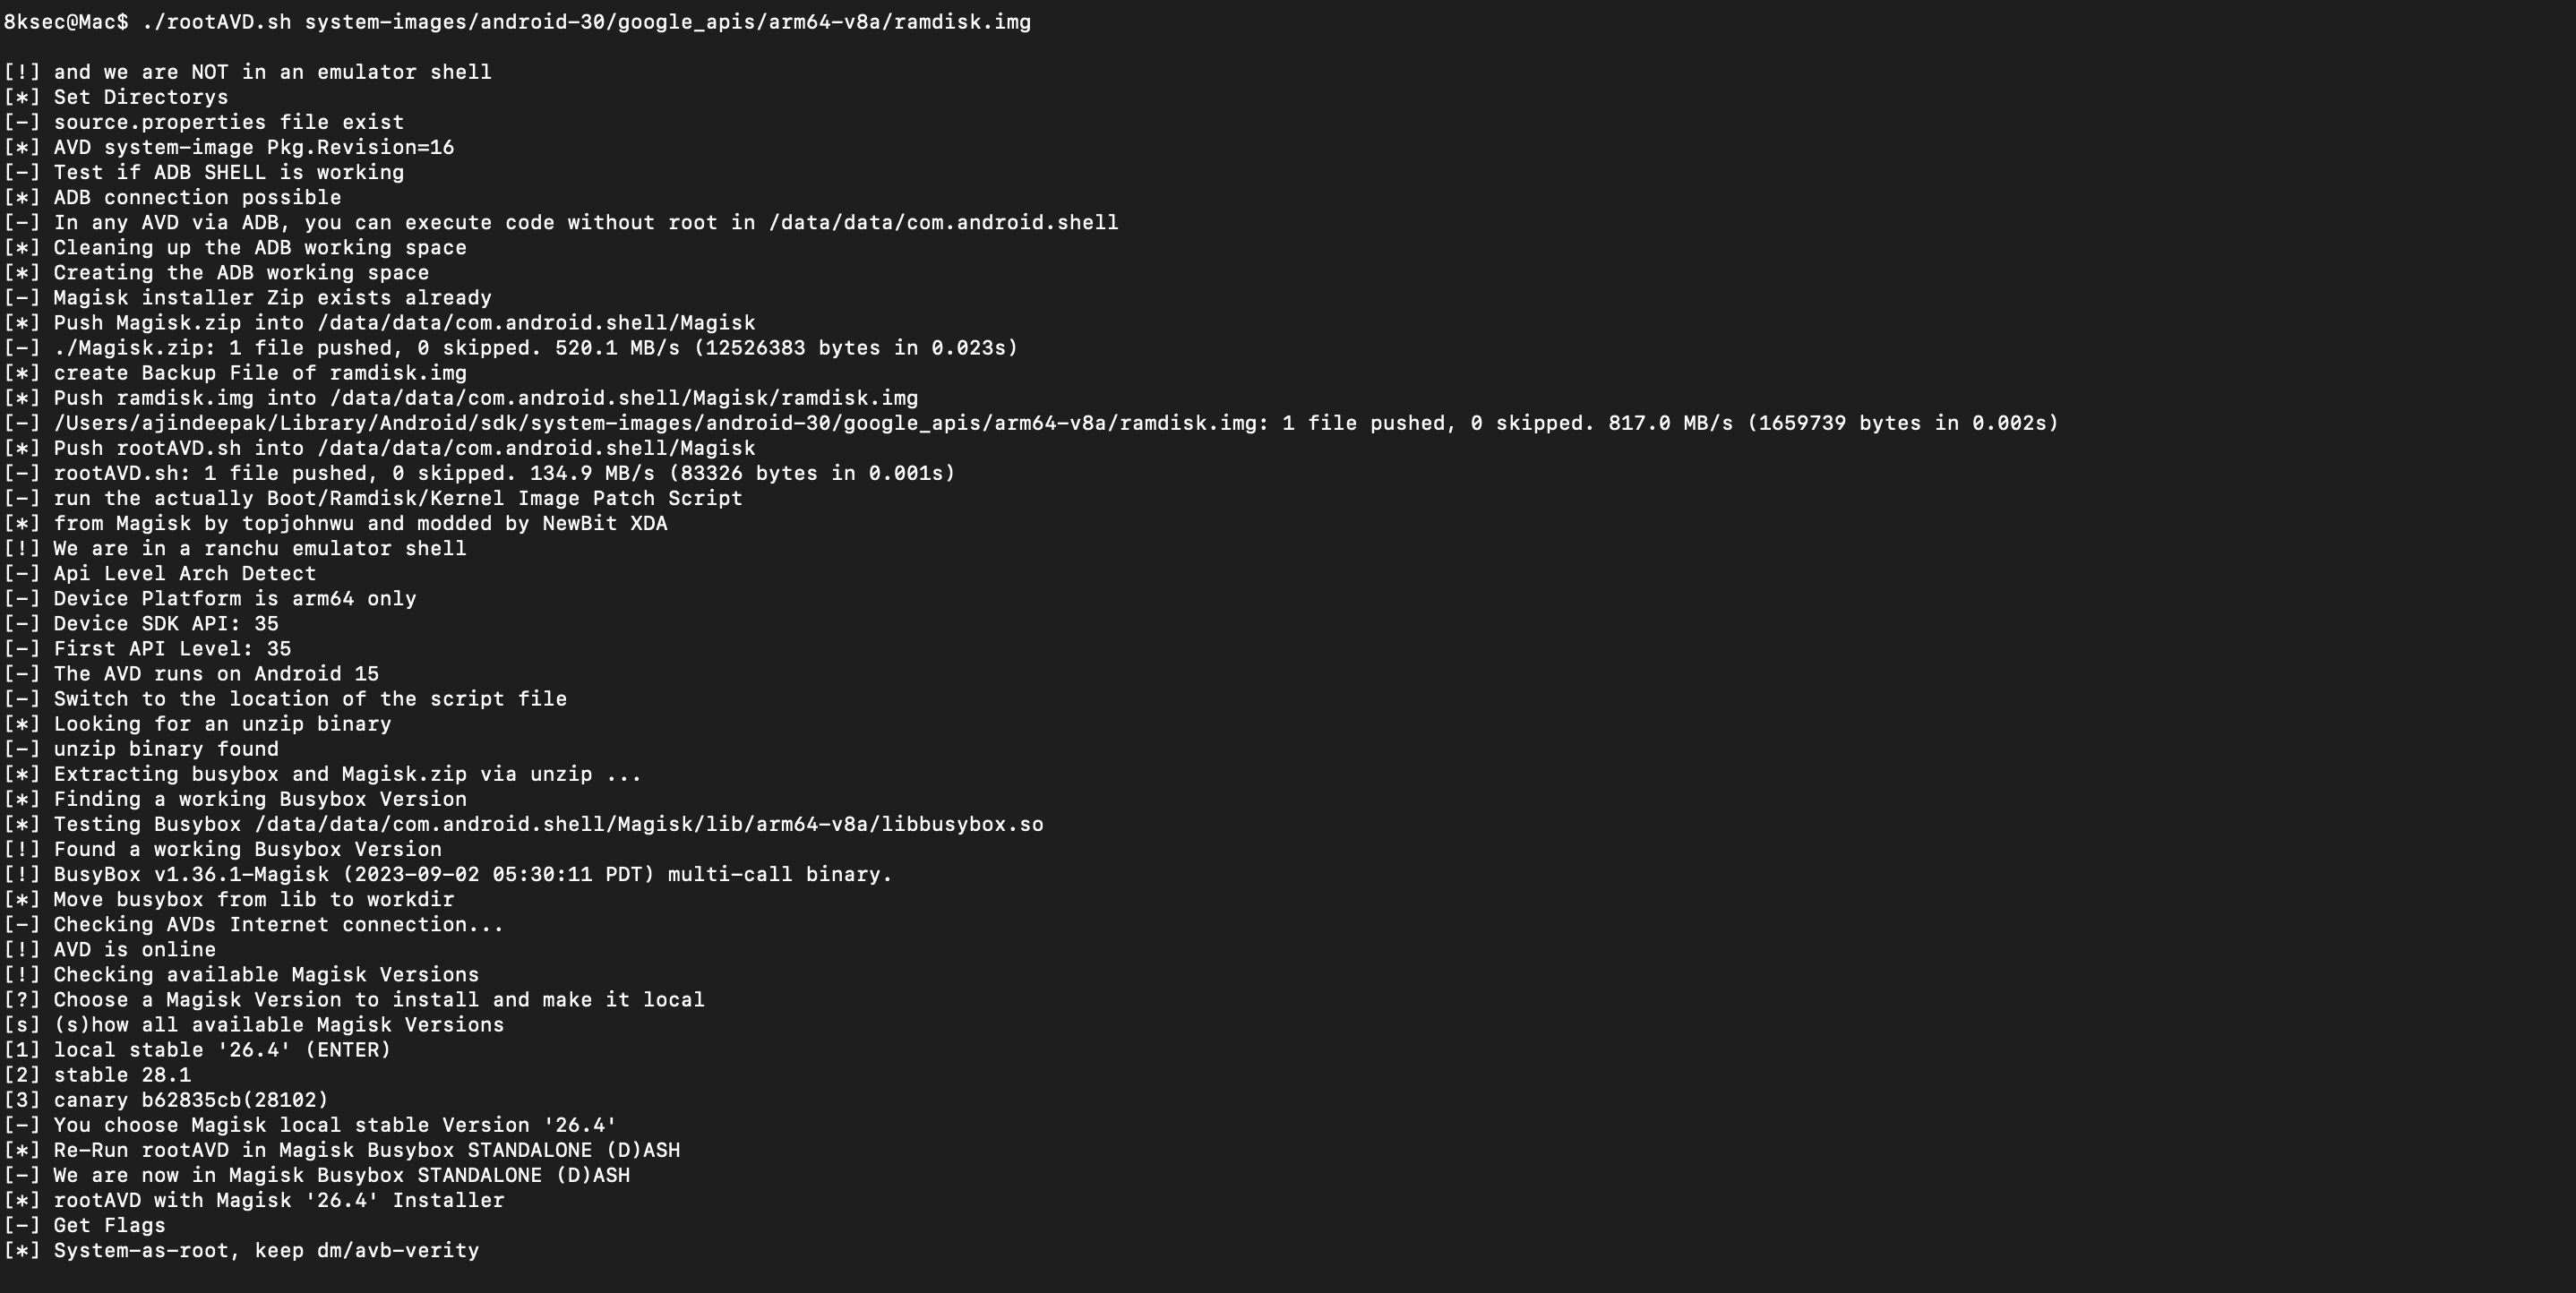
The device will shut down automatically in a few seconds. Start the device with Codebook now.
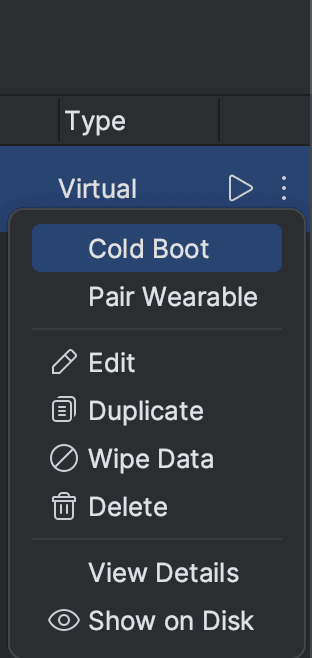
Now wait until the device boots up.
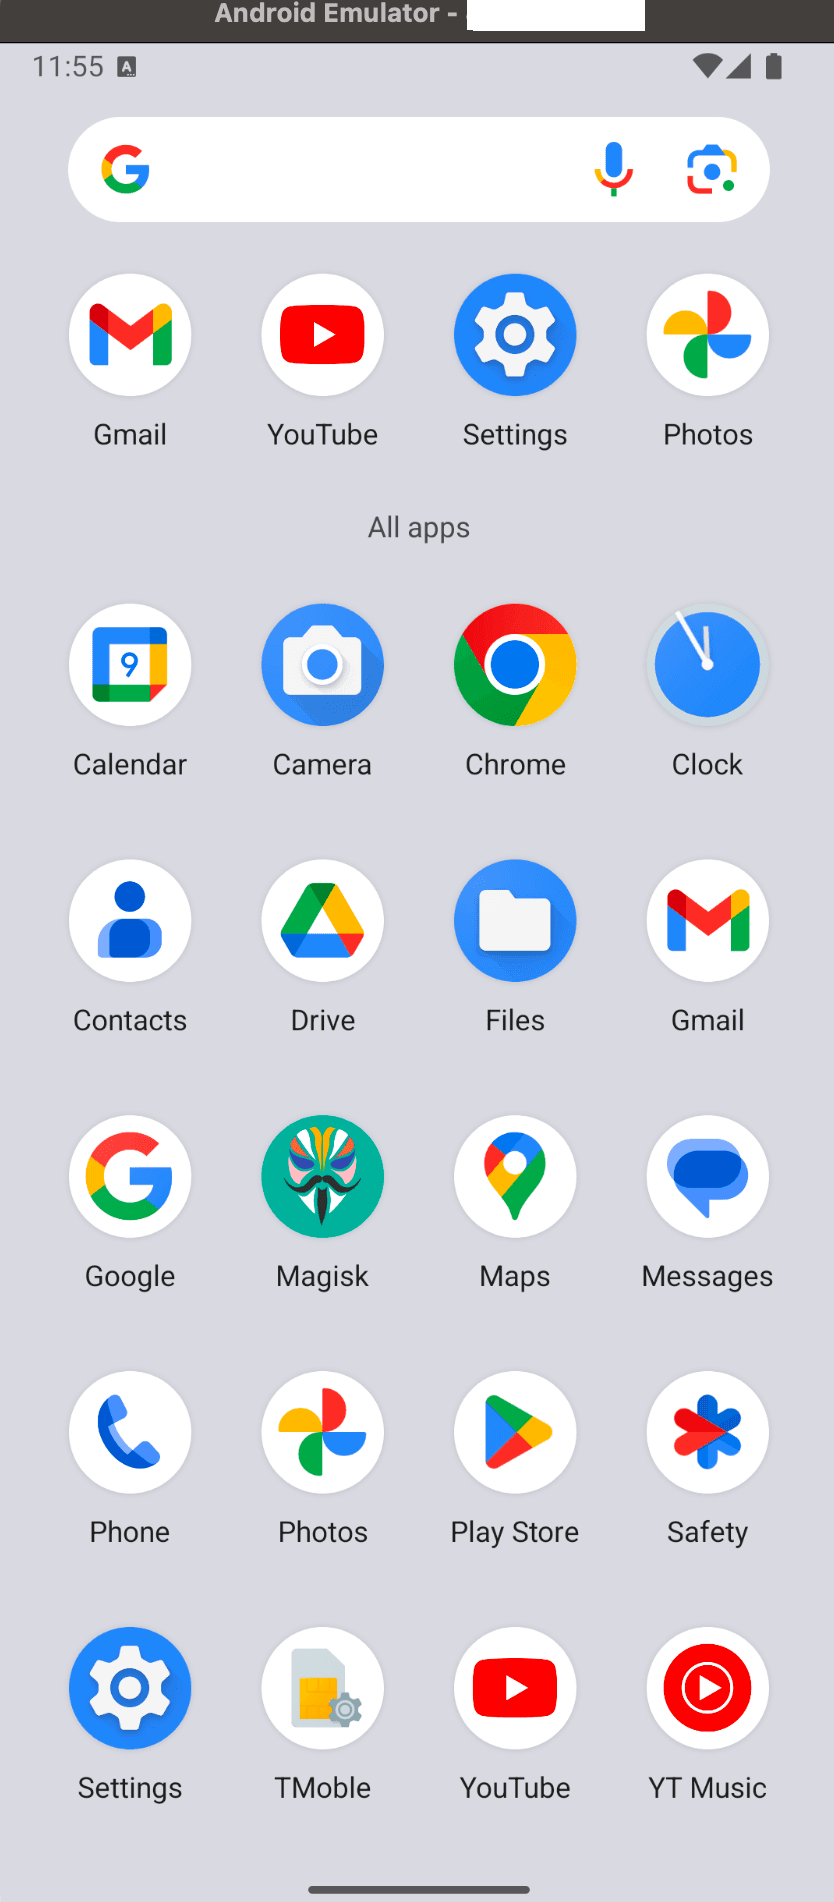
We can see that Magisk is installed on the device. We can check this using the su command.

Setting up GDB + GEF
To do this, we are going to the termux app for this. First let's install termux.
https://github.com/termux/termux-app
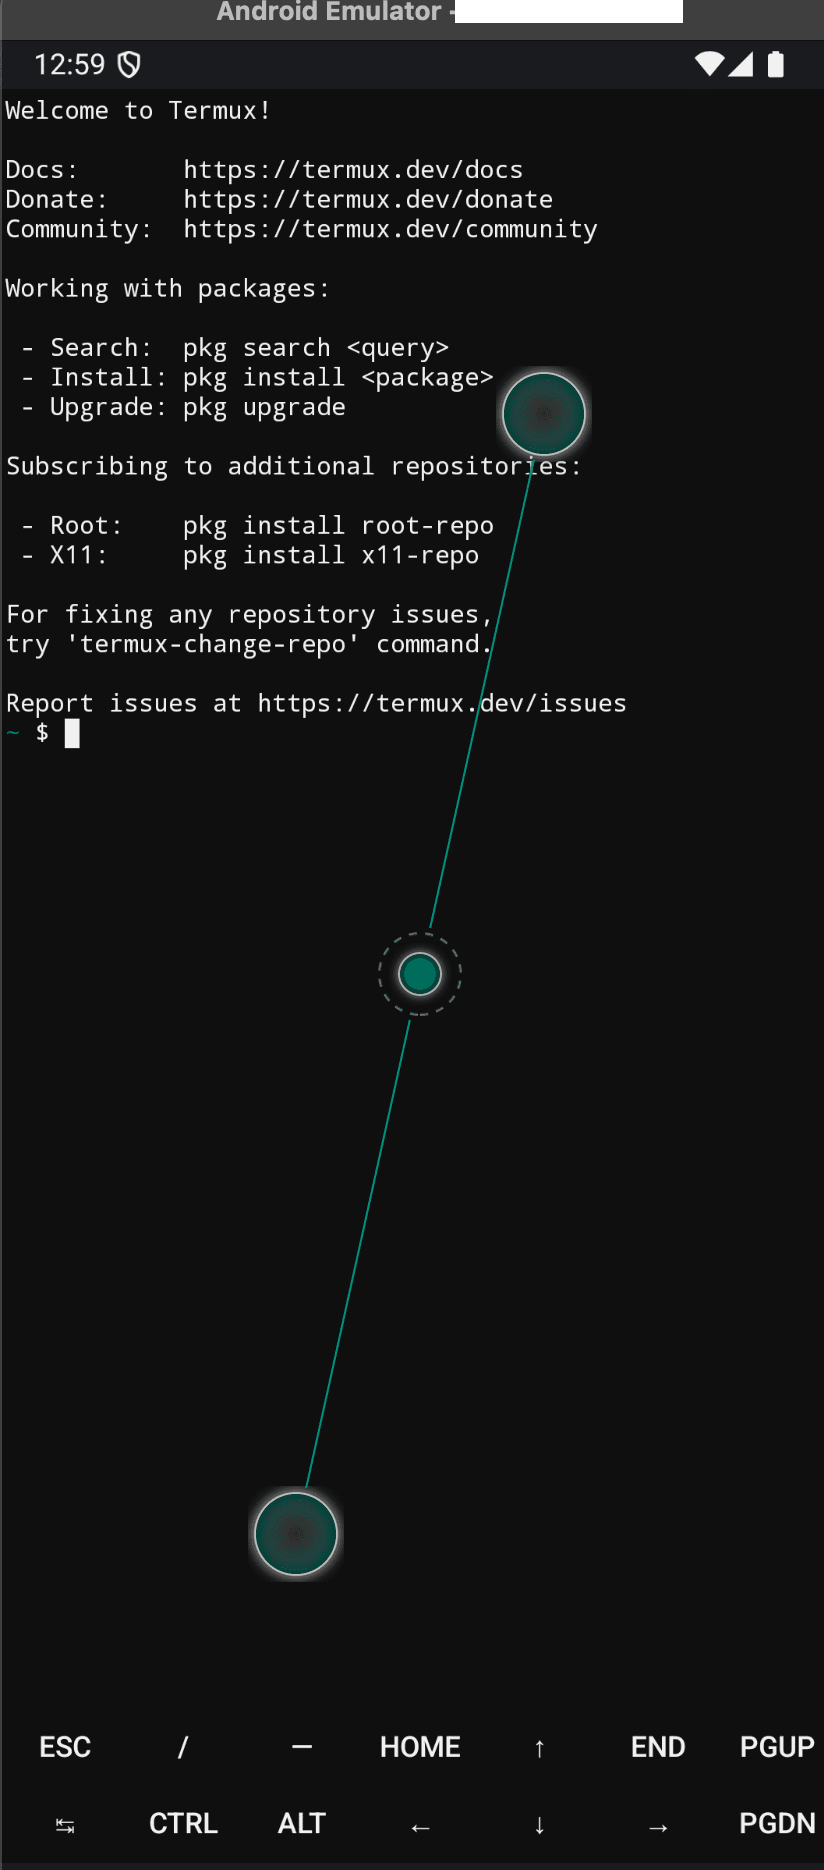
First we have to do an update. So let's run inside the app.
pkg upgrade
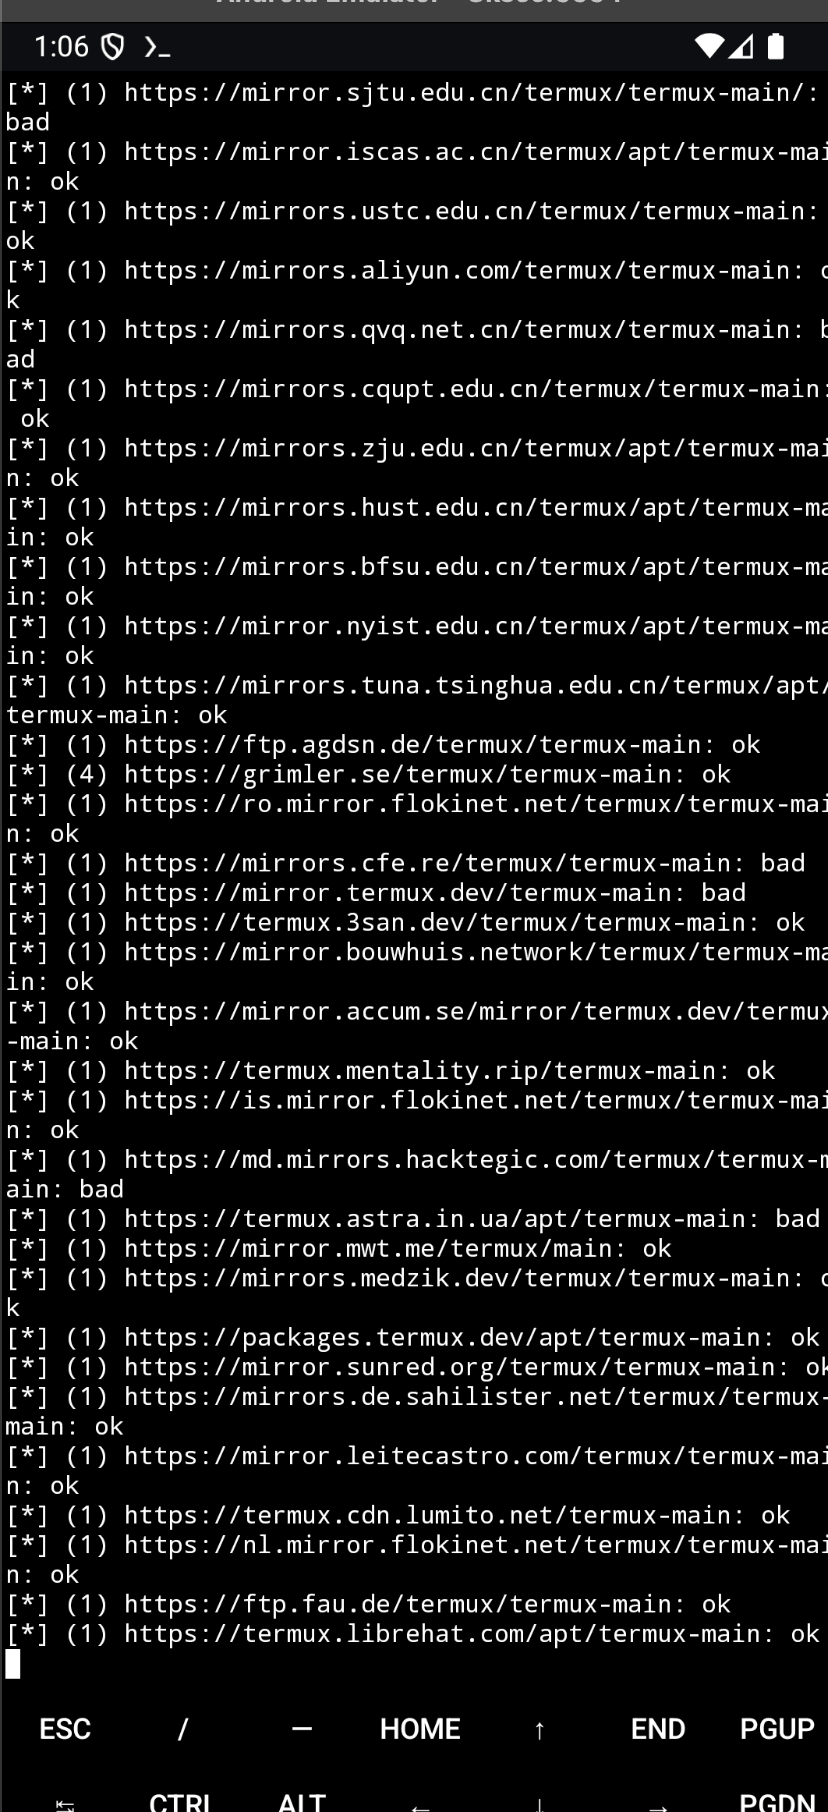
Now you have to install binutils,wget and file.
pkg install binutils
pkg install wget
pkg install file
Now let's install GDB. This will take some time.
pkg install gdb
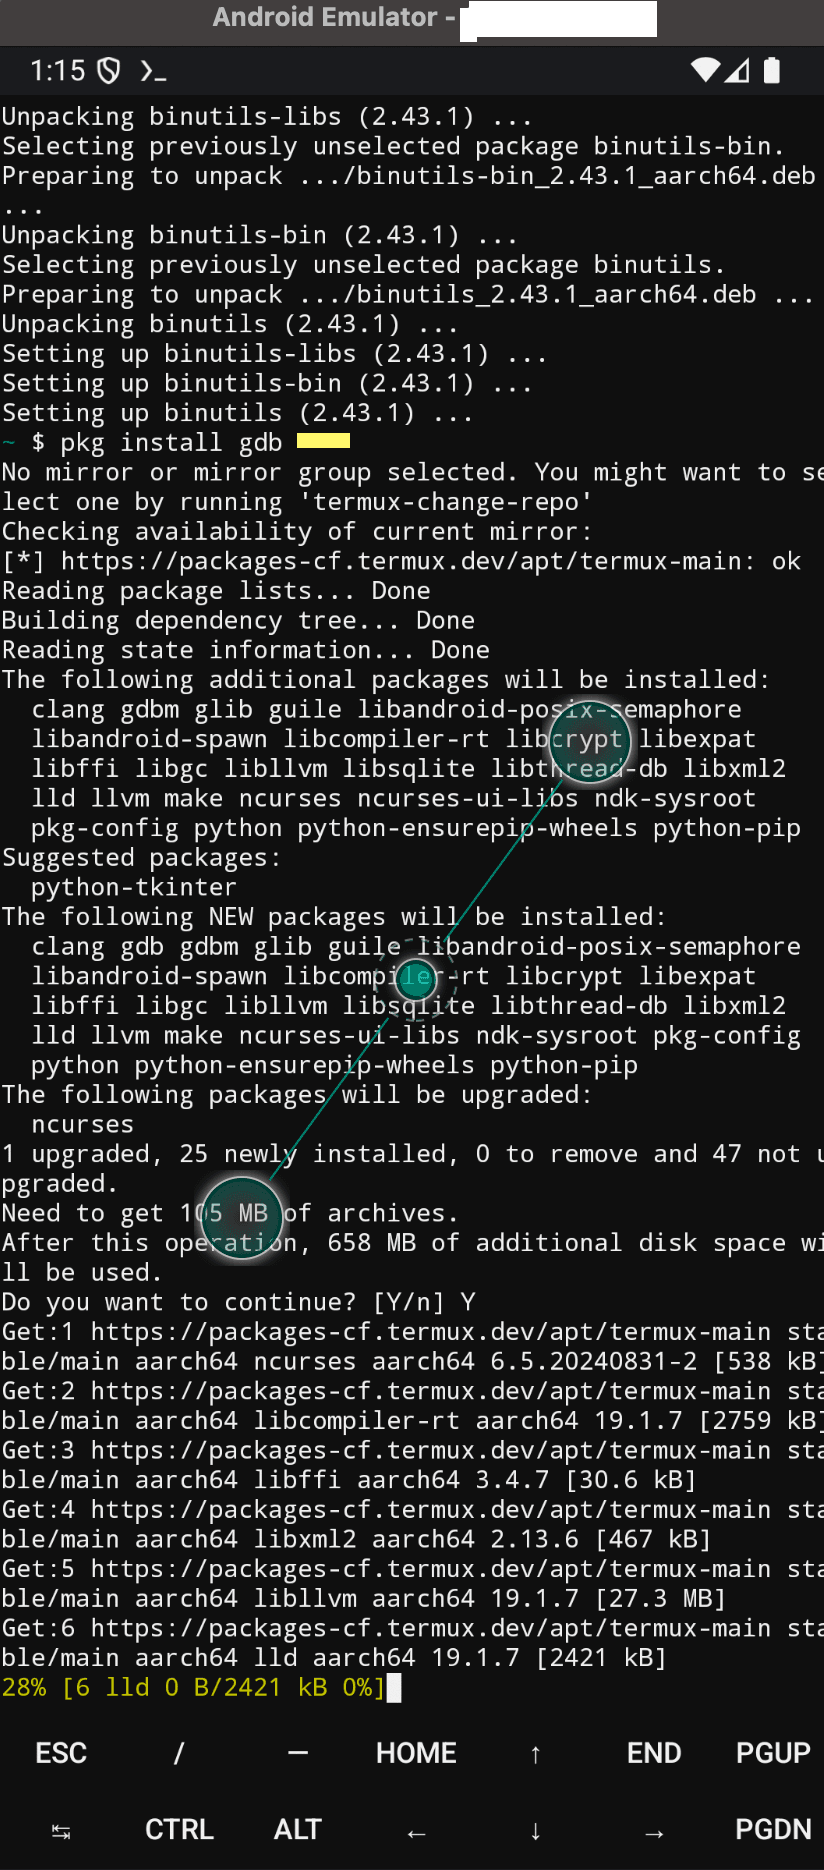
Let's check if GDB got installed or not.
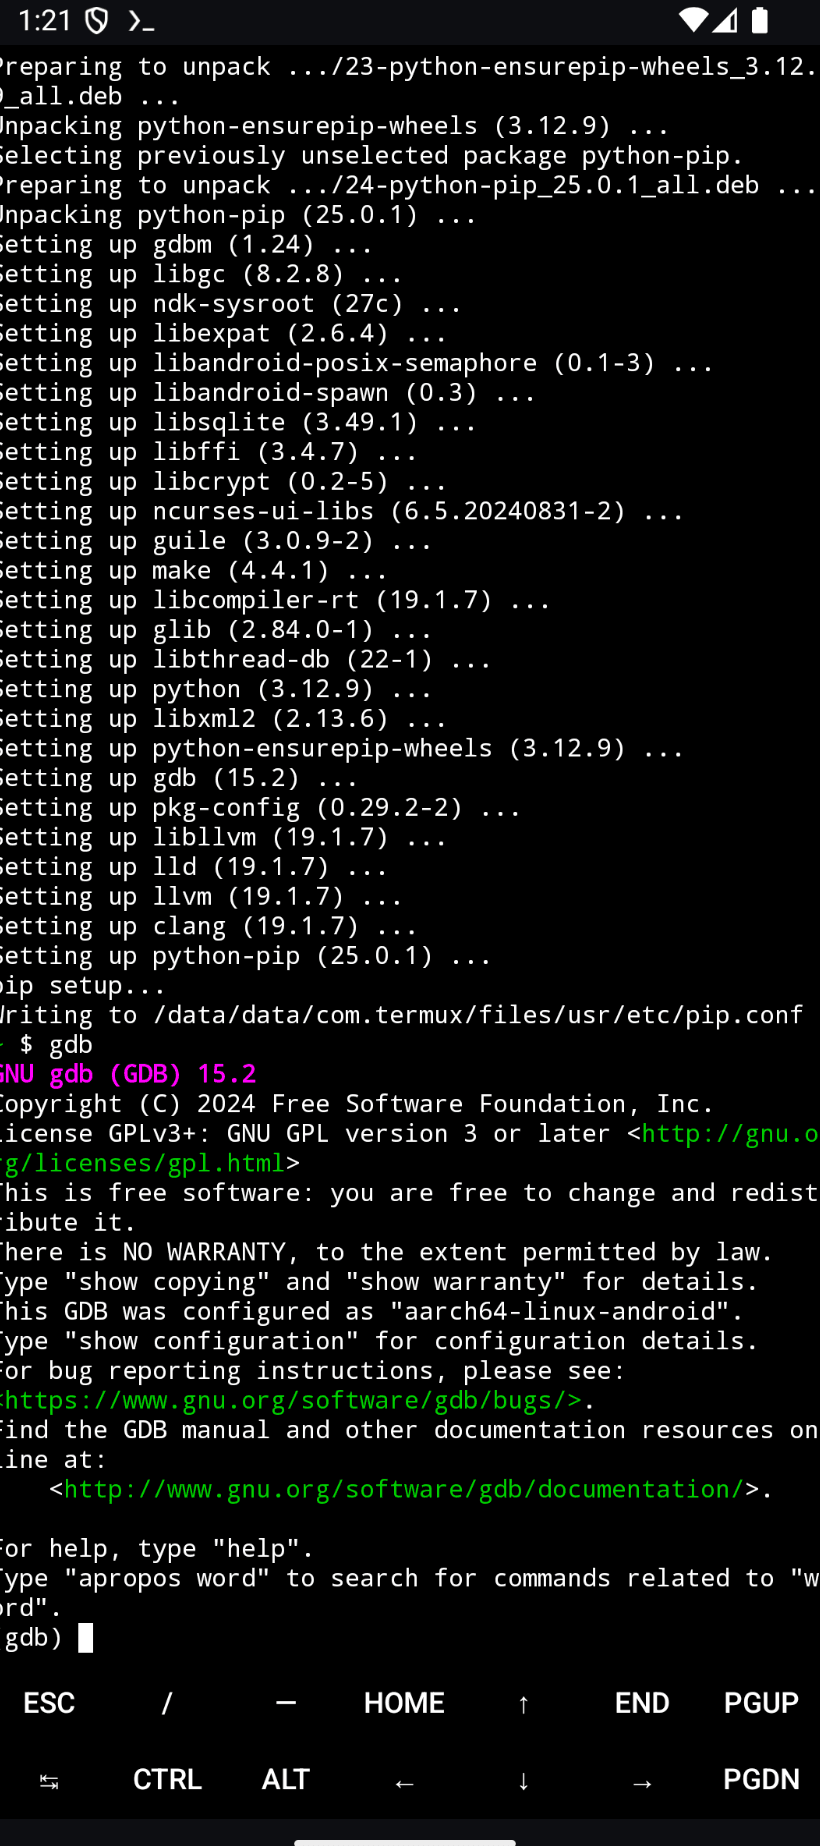
Okay GDB is installed successfully.
Now let's install GEF.
$ wget -O ~/.gdbinit-gef.py -q https://gef.blah.cat/py
$ echo source ~/.gdbinit-gef.py >> ~/.gdbinit
You can use the input text to enter these commands without typing them manually.
emu64a:/ # input text "wget -O ~/.gdbinit-gef.py -q https://gef.blah.cat/py"
emu64a:/ # input text "echo source ~/.gdbinit-gef.py >> ~/.gdbinit"
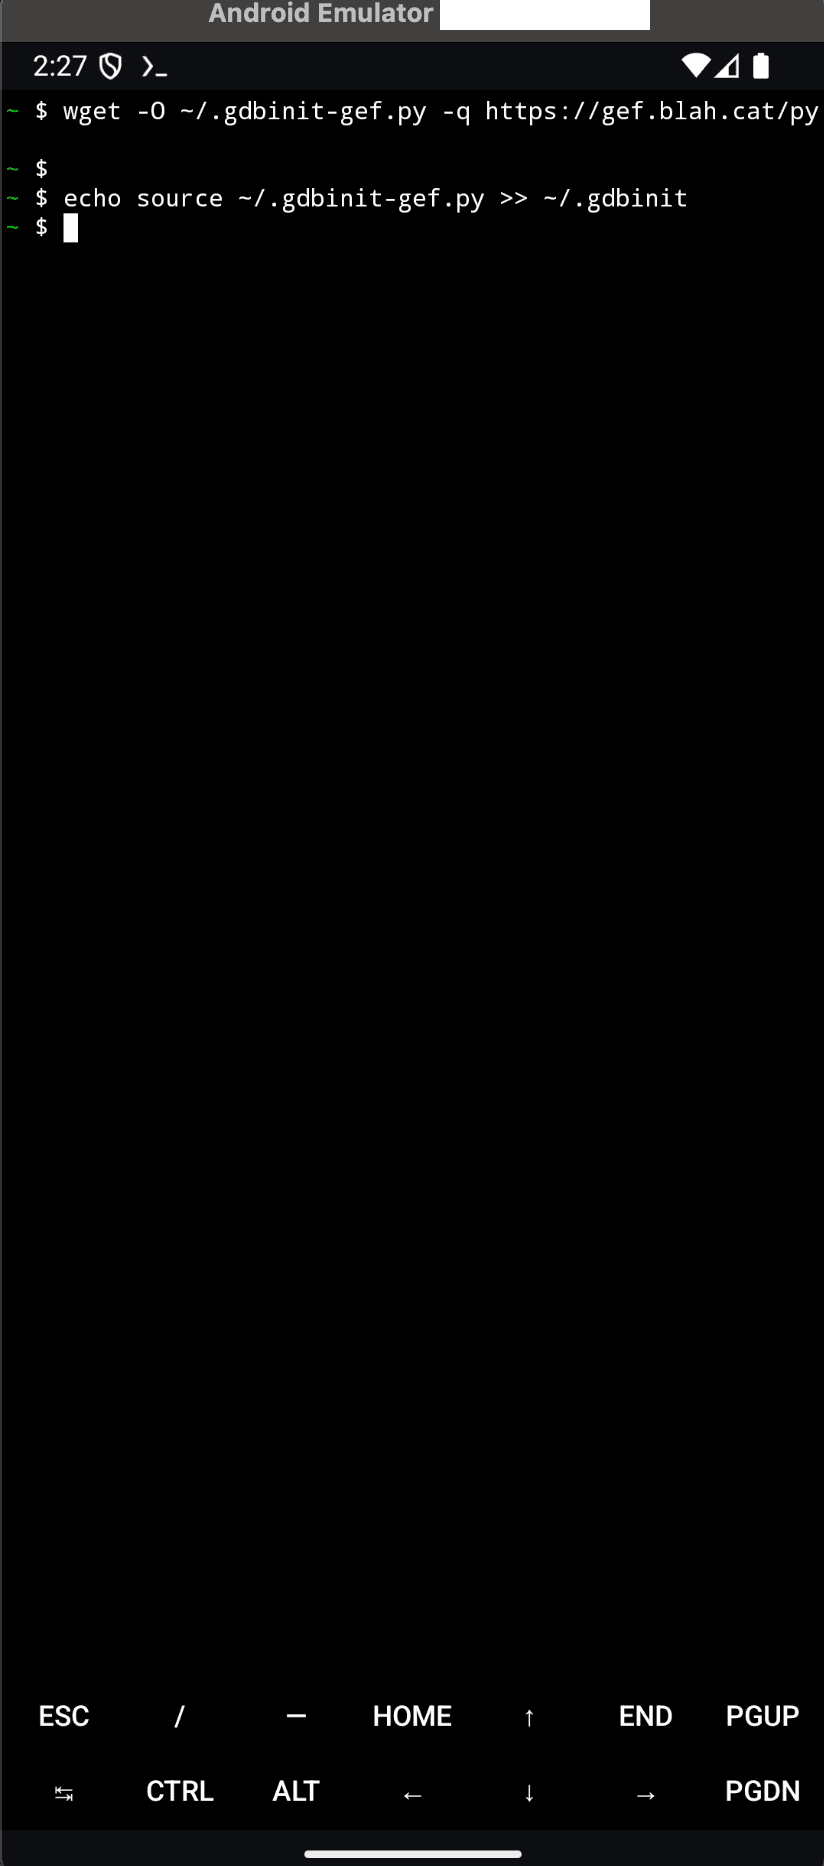
Let's check if GEF is set up properly.
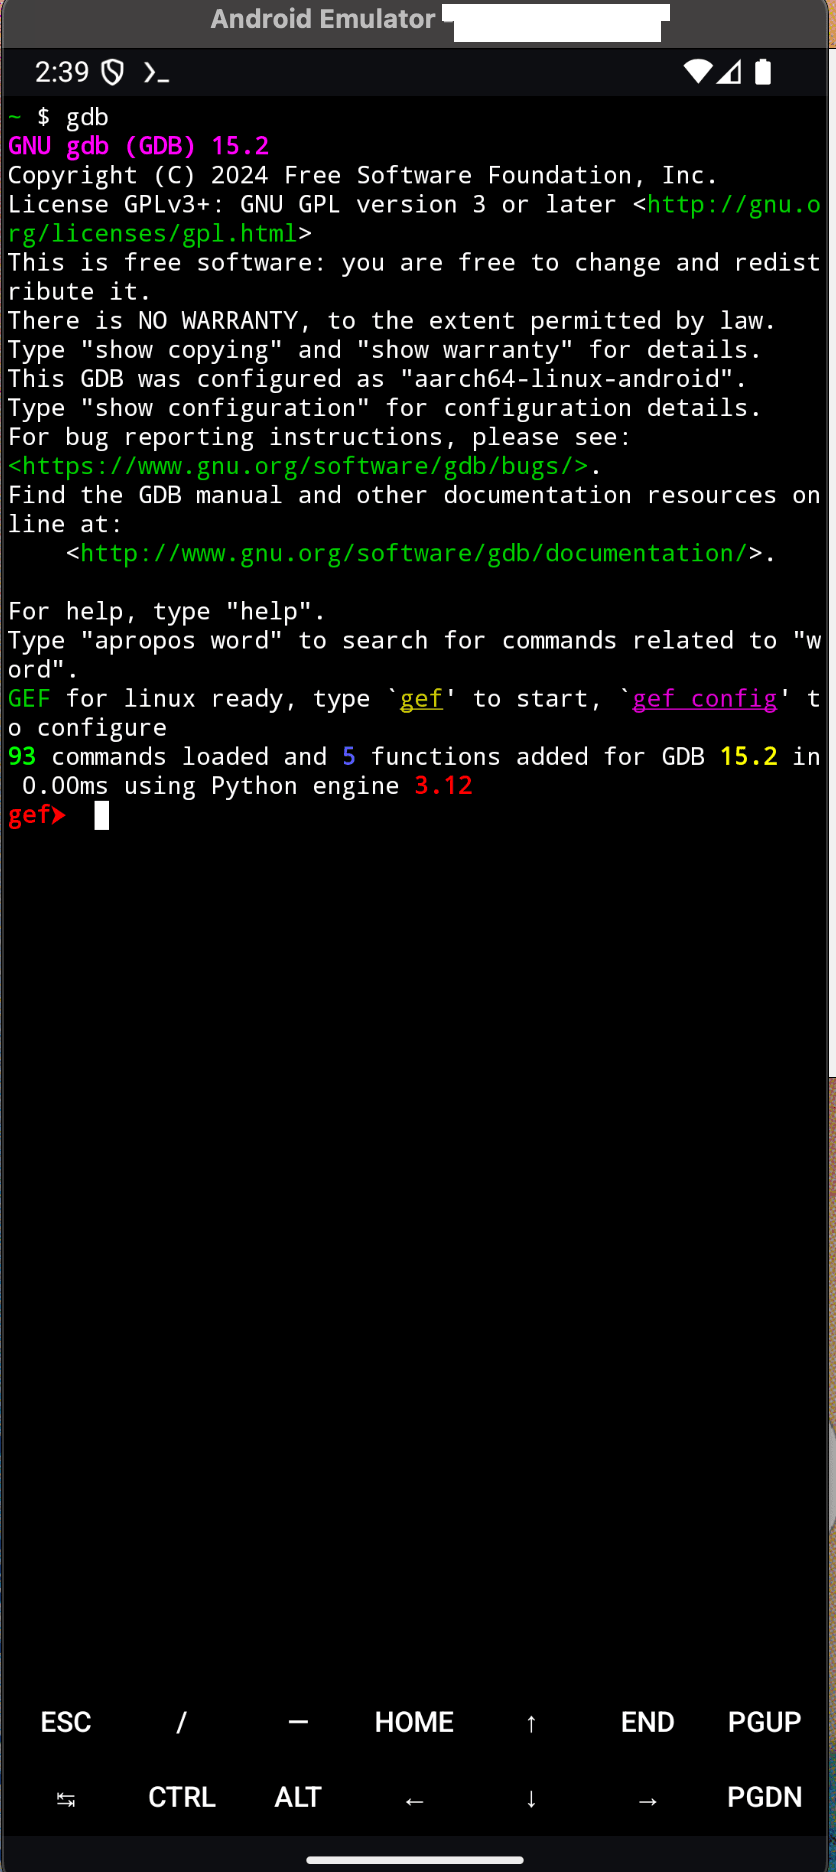
We can see that GEF is installed properly. The next question is how to use it with ADB. Additionally, if you need to debug, you will require root access. That's why we rooted in the first place.
So let's use adb shell and get a shell.
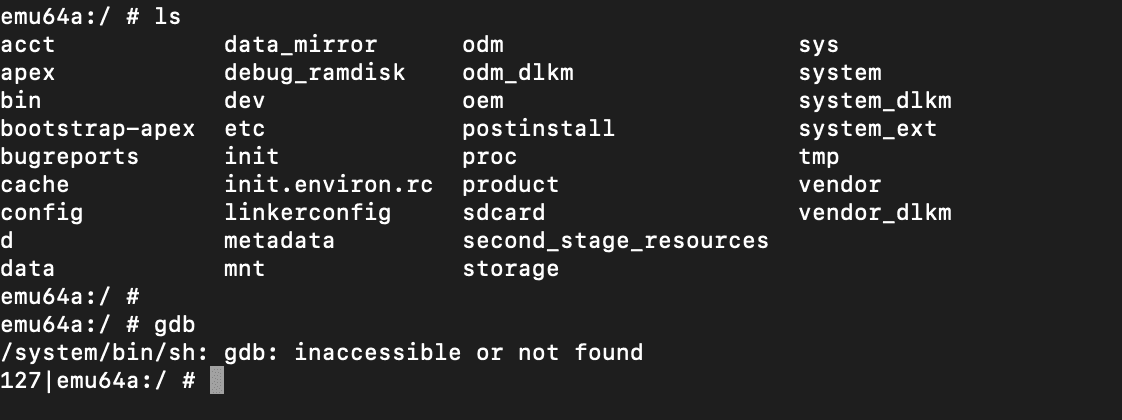
We can see that GDB is not accessible, so we will change the root path to Termux's environment to ensure we can access gdb or other binaries.
Setting Up the Environment Variables
For this, we can just need to edit some environment variables.
export PREFIX='/data/data/com.termux/files/usr'
PREFIXis the root directory where Termux installs packages.- This ensures that installed binaries and libraries are correctly located.
export LD_LIBRARY_PATH='/data/data/com.termux/files/usr/lib'
- Sets the library path so that programs can find shared libraries installed in Termux.
export PATH="/data/data/com.termux/files/usr/bin:/data/data/com.termux/files/usr/bin/applets:$PATH"
- Adds Termux binaries and applets to the system’s
PATH, ensuring commands likels,grep, and others work correctly.
export TERM='screen-256color'
- Defines the terminal type.
screen-256colorenables 256-color support.
export SHELL='/data/data/com.termux/files/usr/bin/bash'
Specifies that the default shell should be bash instead of the default sh shell.
export HOME='/data/data/com.termux/files/home'
- This command sets the home directory in Termux to
/data/data/com.termux/files/home
exec "$SHELL" -l
execreplaces the current process with a login shell (-l), ensuring the shell starts with all environment settings loaded.
Let's execute all of these command and see.
export PREFIX='/data/data/com.termux/files/usr'
export LD_LIBRARY_PATH='/data/data/com.termux/files/usr/lib'
export PATH="/data/data/com.termux/files/usr/bin:/data/data/com.termux/files/usr/bin/applets:$PATH"
export TERM='screen-256color'
export SHELL='/data/data/com.termux/files/usr/bin/bash'
export HOME='/data/data/com.termux/files/home'
exec "$SHELL" -l

Now let's check if GDB is acessible.
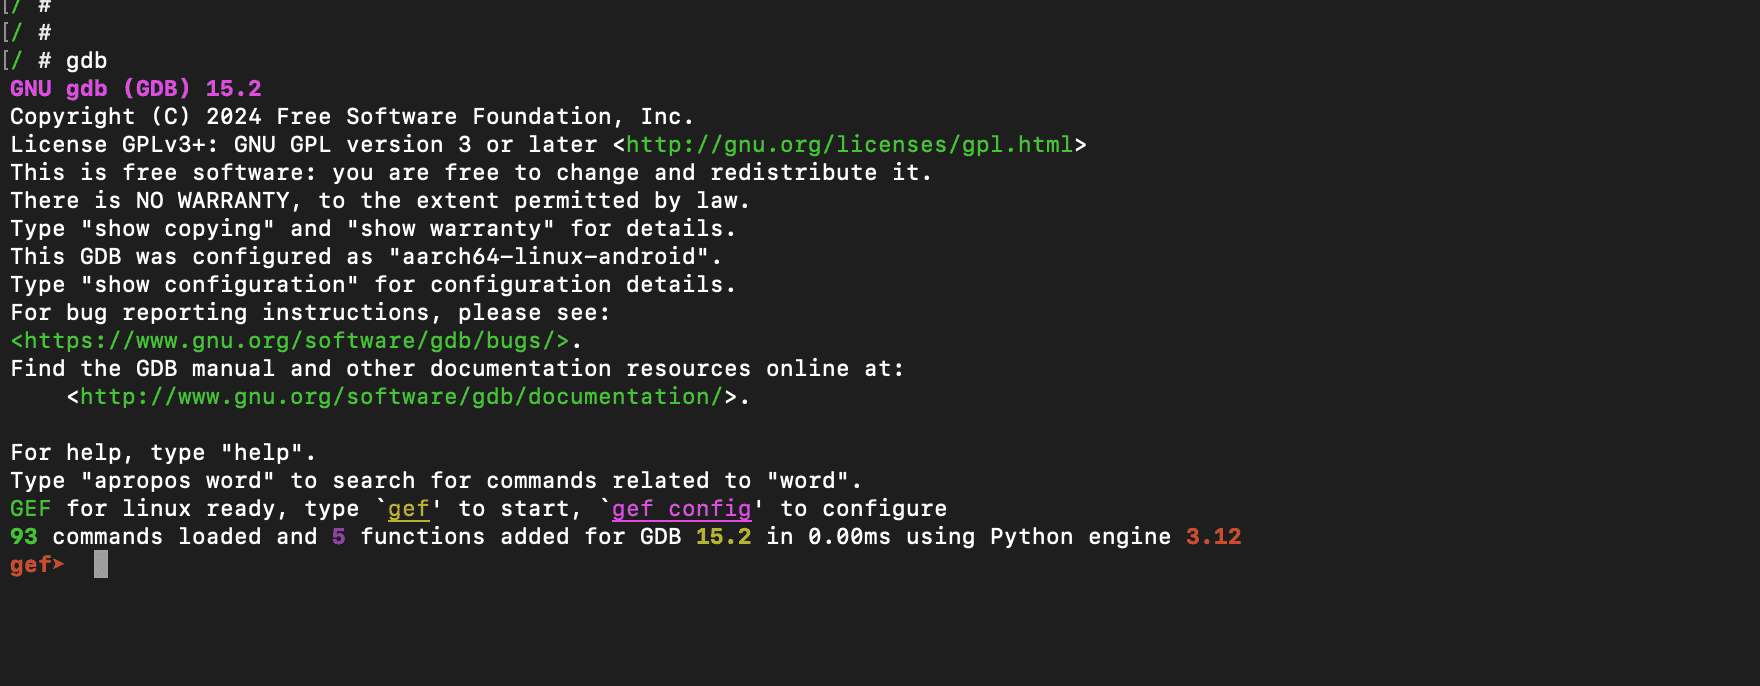
As you can see, we can access it now.
Let's create a script file in the temp directory to make this easier.
#!/system/bin/sh
export PREFIX='/data/data/com.termux/files/usr'
export LD_LIBRARY_PATH='/data/data/com.termux/files/usr/lib'
export PATH="/data/data/com.termux/files/usr/bin:/data/data/com.termux/files/usr/bin/applets:$PATH"
export TERM='screen-256color'
export SHELL='/data/data/com.termux/files/usr/bin/bash'
export HOME='/data/data/com.termux/files/home'
exec "$SHELL" -l
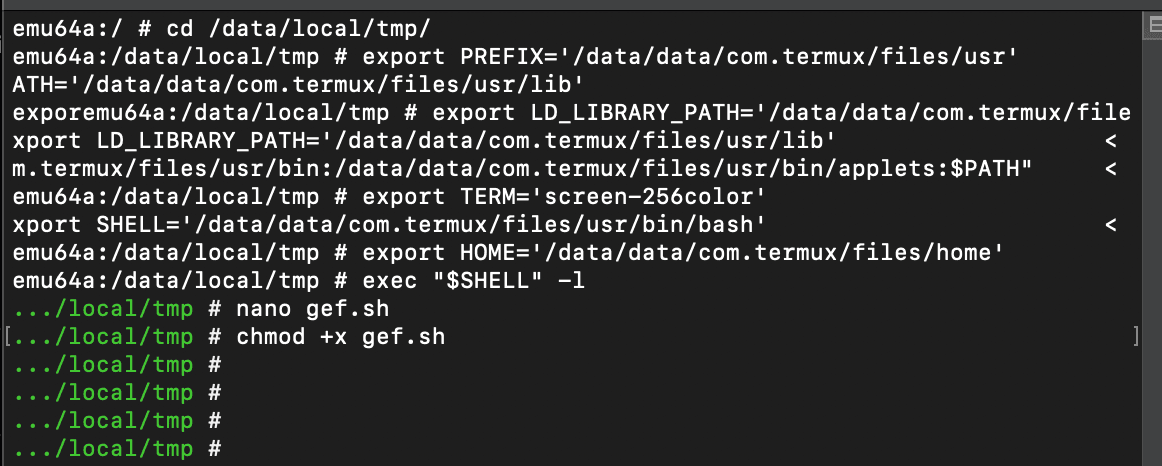
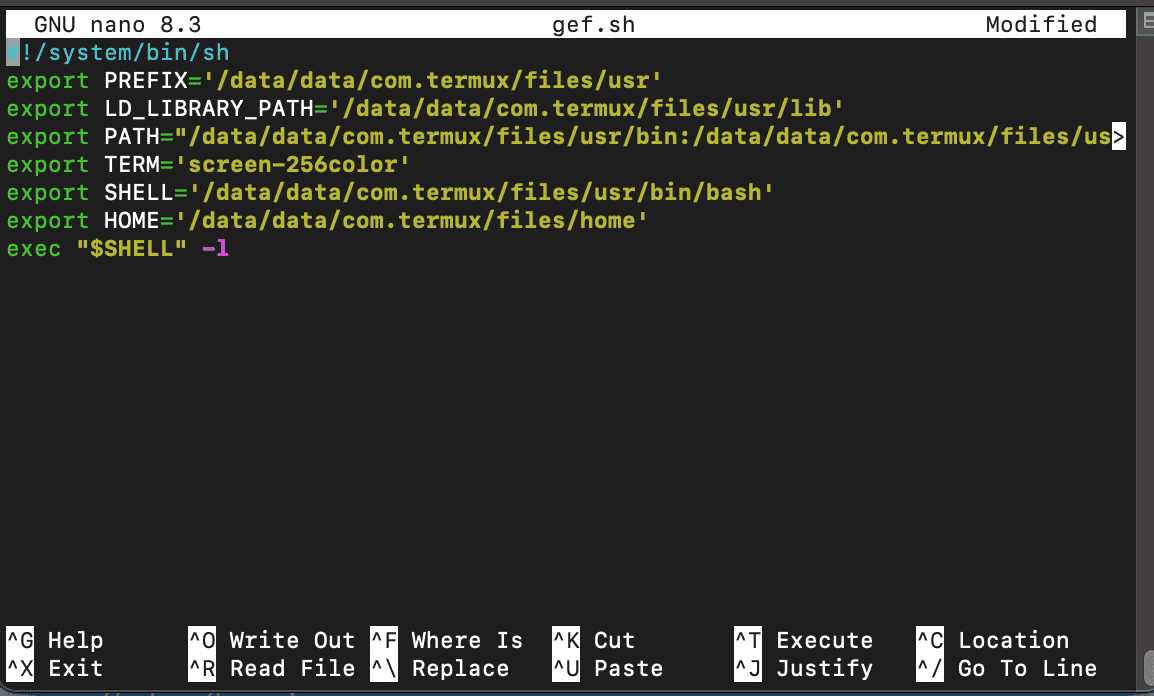
When you use adb shell, you can just execute this script.

Now you can use GDB and other binaries/tools easily. Additionally, you can install and access other packages in the same way with Termux.
One more thing i have to mention is that,instead of executing the script every time, you can edit the mksrc file and add this. However, for the build, we are using a production-built image, so in this case, we can't edit the mksrc file. You can experiment with this yourself.
Let's try to use GDB to debug a small binary. We will use a small C program which has a buffer overflow vulnerability.
#include <stdio.h>
int main(){

char buf[5];
int a = 15;
printf("Hello world ! \n");
printf("Enter some input :");
gets(buf);
printf("\nThe variable a is %d\n ",a);
return 0;

}
To compile you can use GCC.
gcc test.c -fno-stack-protector -std=c90 -o test
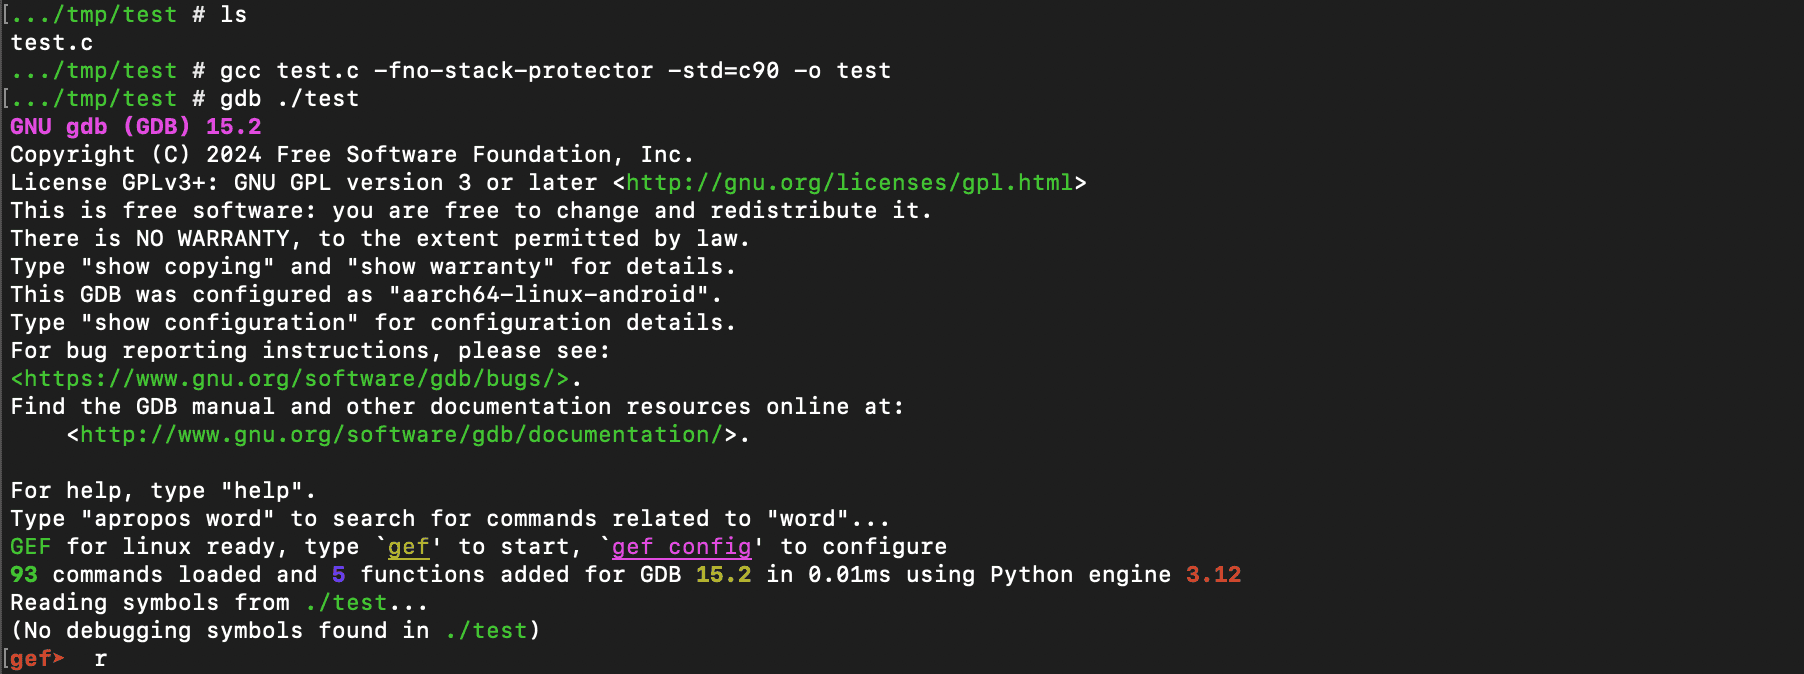
If you enter a large input, the program will get crashed.
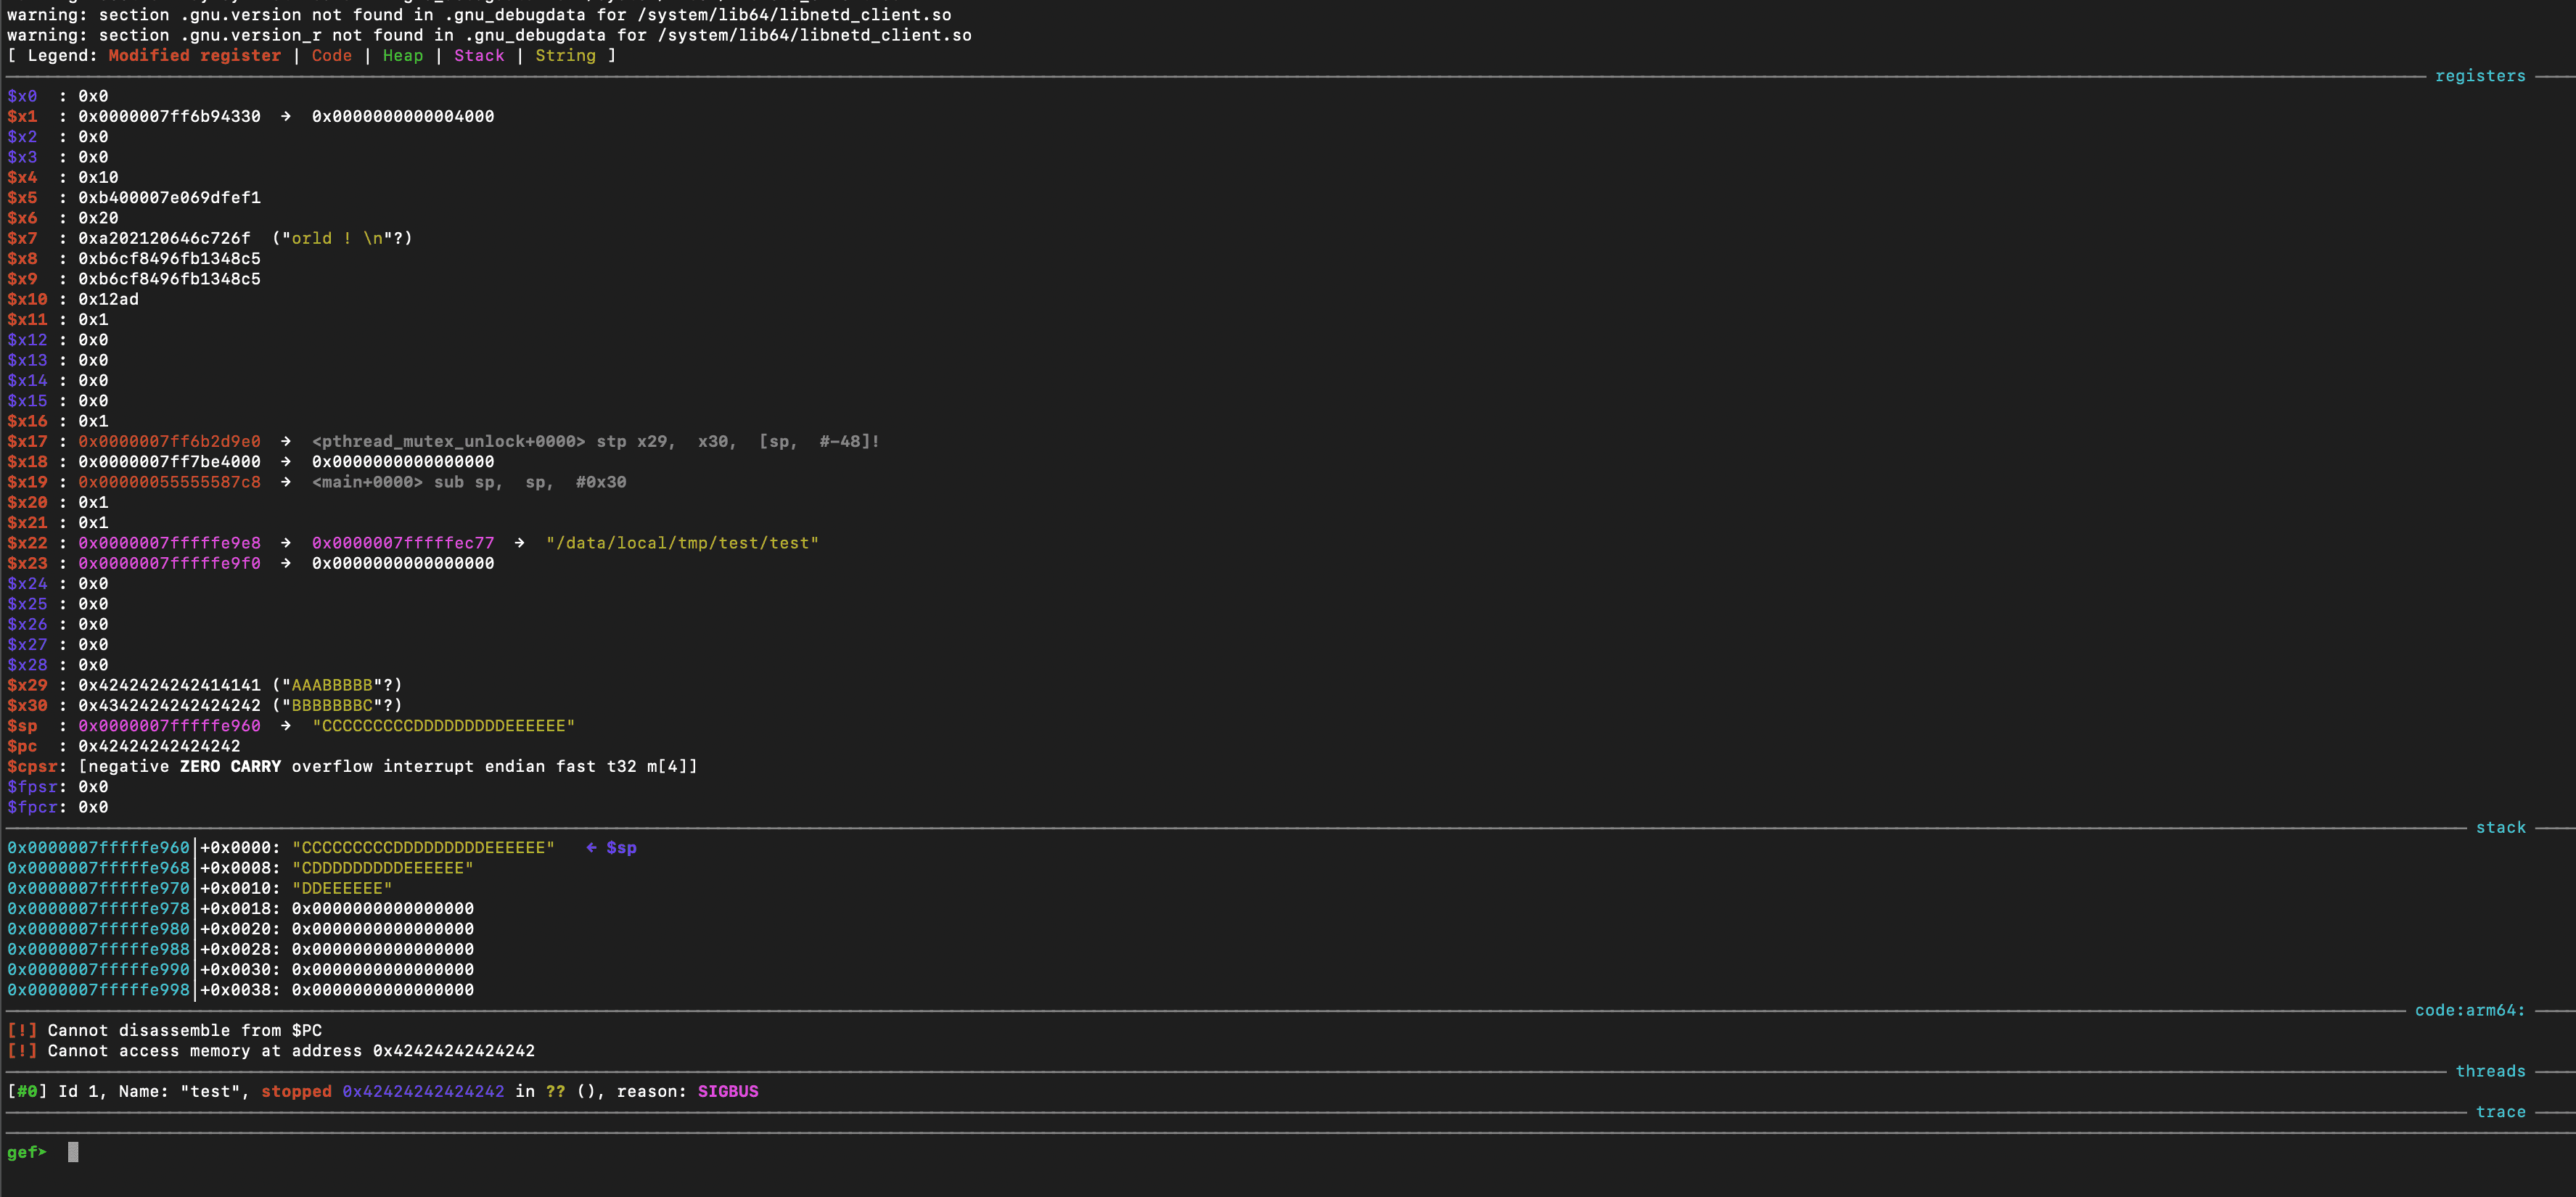
We can see that the program counter (PC) is overwritten with 0x4242424242424242, which corresponds to the B characters we entered.
You can see how much faster and easier it is to debug locally than remotely.